
First off — thanks for purchasing the Happy Template. We sincerely hope that it'll be a great starting point for the marketing site for your app!
Below you'll find instructions on how to make sure your screenshots look great, as well as how to add a Smart App Banner to your site.
Good luck and don't hesitate to reach out to us if you need help.
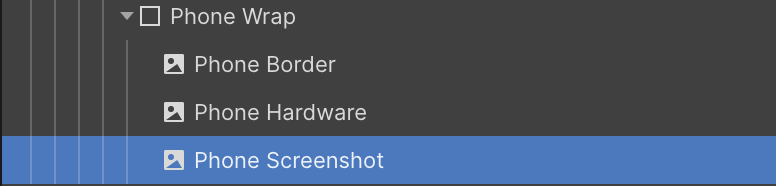
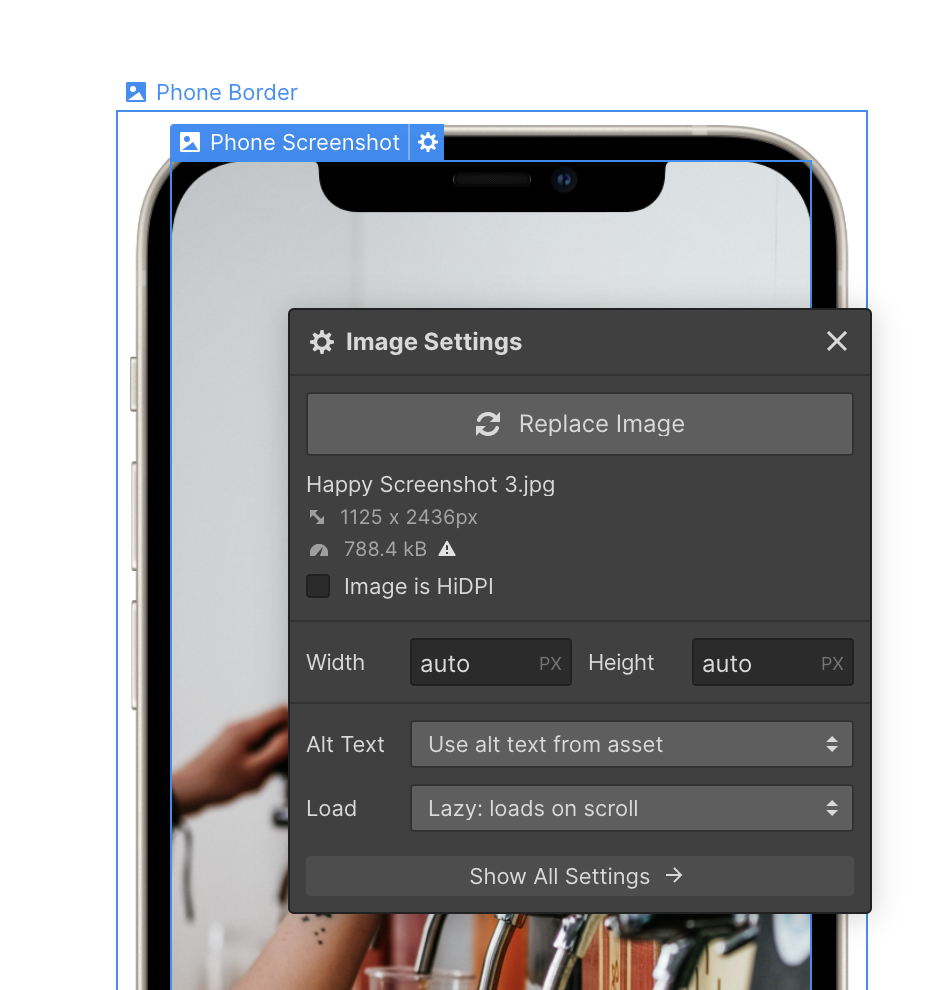
The beauty of the Happy Template is that it is super simple to make your app screenshots look great. Instead of having to embed the images in a phone mockup using Photoshop, you can simply upload the screenshots into the existing objects and the template will make sure to overlay the correct images to make the screenshots look great.

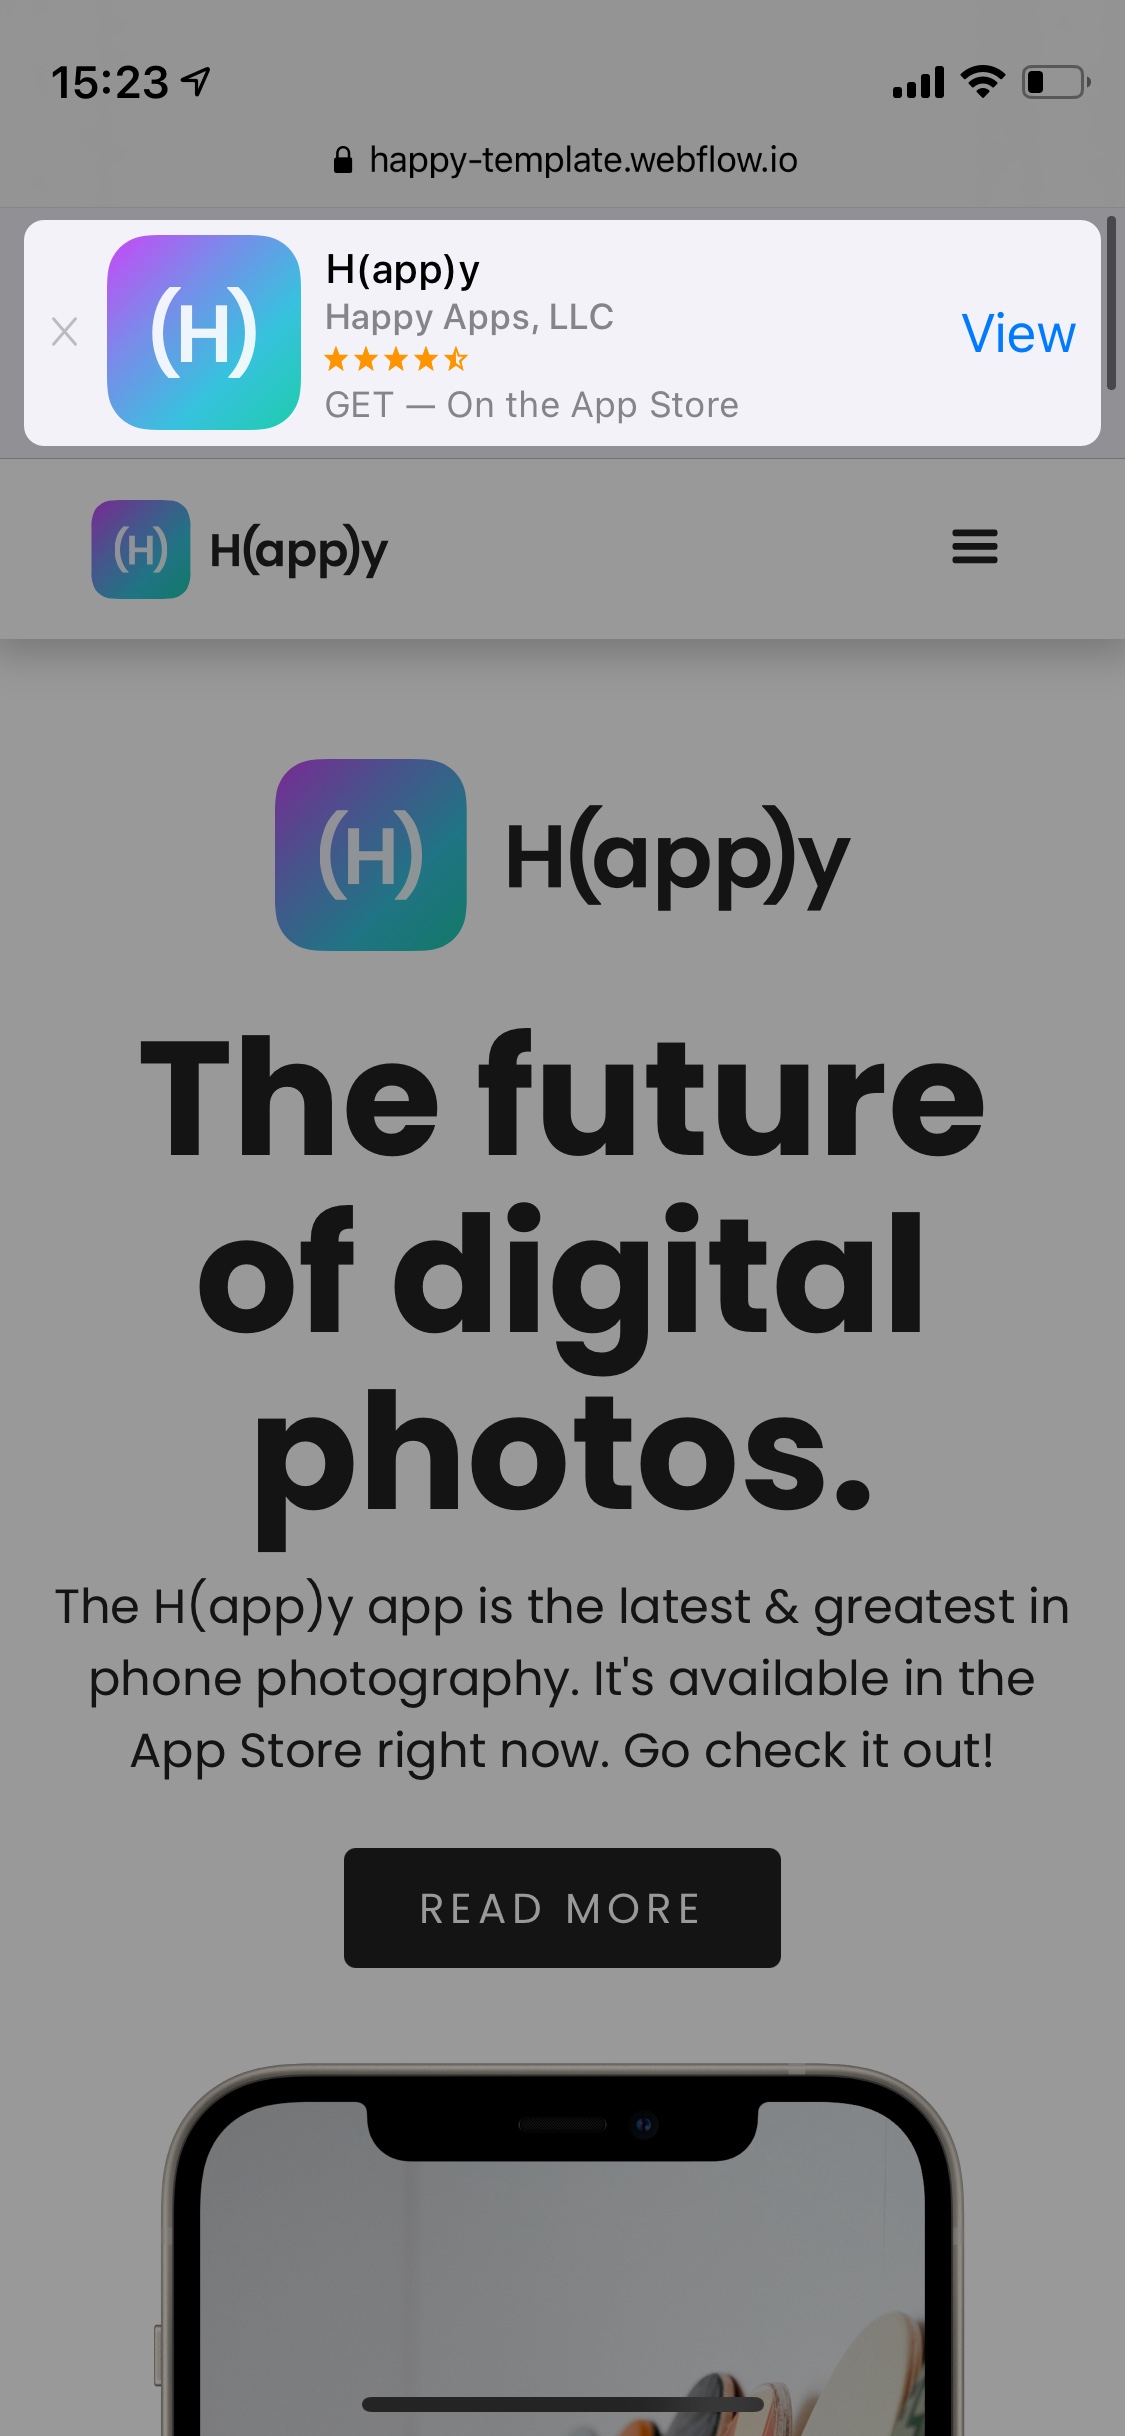
In order to add a native Smart App Banner, go to App Store Marketing Tools and find your app. The 9-digit number after "id" in your apps URL is your App ID. Use the App ID like this:
<meta name="apple-itunes-app" content="app-id=YOUR_APP_ID>
Paste this code into your site's custom head code. See this tutorial on Webflow University if you're unsure about this step.
If you want to change the typography of your site, simply click a text element below (for example, H4), then select "All H4 Headings" in the Selector and make your changes. The changes will affect all elements of that type on the entire site. Check the Typography class in Webflow University if you're unsure about how to do this.
Lorem ipsum dolor sit amet, consectetur adipiscing elit. Suspendisse varius enim in eros elementum tristique. Duis cursus, mi quis viverra ornare, eros dolor interdum nulla, ut commodo diam libero vitae erat.
Lorem ipsum dolor sit amet
Lorem ipsum dolor sit amet, consectetur adipiscing elit. Suspendisse varius enim in eros elementum tristique. Duis cursus.
Nulla efficitur auctor hendrerit. Etiam ut orci varius, faucibus libero ac, cursus quam. Aenean porta neque eget consequat fringilla.
Vestibulum ultrices, orci nec egestas pharetra, ligula est semper enim, nec auctor sapien leo nec purus.
What devices does Artern support?
Lorem ipsum dolor sit amet, consectetur adipiscing elit. Nullam scelerisque aliquam odio et faucibus. Nulla rhoncus feugiat eros quis consectetur. Morbi neque ex, condimentum dapibus congue et, vulputate ut ligula.
How many megapixels does H(app)y support?
Nulla rhoncus feugiat eros quis consectetur. Morbi neque ex, condimentum dapibus congue et, vulputate ut ligula. Vestibulum sit amet urna turpis. Mauris euismod elit et nisi ultrices, ut faucibus orci tincidunt. Vestibulum sit amet urna turpis. Mauris euismod elit et nisi ultrices, ut faucibus orci tincidunt.
Will my photos magically be more beautiful if I use this app?
Vestibulum sit amet urna turpis. Mauris euismod elit et nisi ultrices, ut faucibus orci tincidunt. Duis tristique sed lorem a vestibulum. Cras commodo consequat orci, in convallis risus egestas non. Nulla efficitur auctor hendrerit.
How many photos can I store in H(app)y?
Vestibulum ultrices, orci nec egestas pharetra, ligula est semper enim, nec auctor sapien leo nec purus. Etiam ut orci varius, faucibus libero ac, cursus quam. Aenean porta neque eget consequat fringilla.
If you want to change the colors of your site, simply click a color block below (for example, the blue block below "Brand Color 1"), then click the coloured square under Backgrounds to bring up your Color Swatches. Clicking the pen next to a color will allow you to change the global swatch, which will affect all instances of that color on the entire site. If you're unsure about this, check the Color Class in Webflow University.


